

:quality(85):upscale()/2025/03/13/764/n/1922729/4c26cfa167d313d93a57b8.85428907_.webp)
:quality(85):upscale()/2025/03/12/103/n/1922153/5e6cd9bf67d234e03b5bf6.14130631_.png)
:quality(85):upscale()/2024/01/29/984/n/1922153/3153712665b828a277d2c6.55118005_.jpg)
:quality(85):upscale()/2024/11/22/933/n/24155406/398759ae6740f663d755c4.12400021_.png)


Recall Shooting: An Unknown Feature with Great Potential
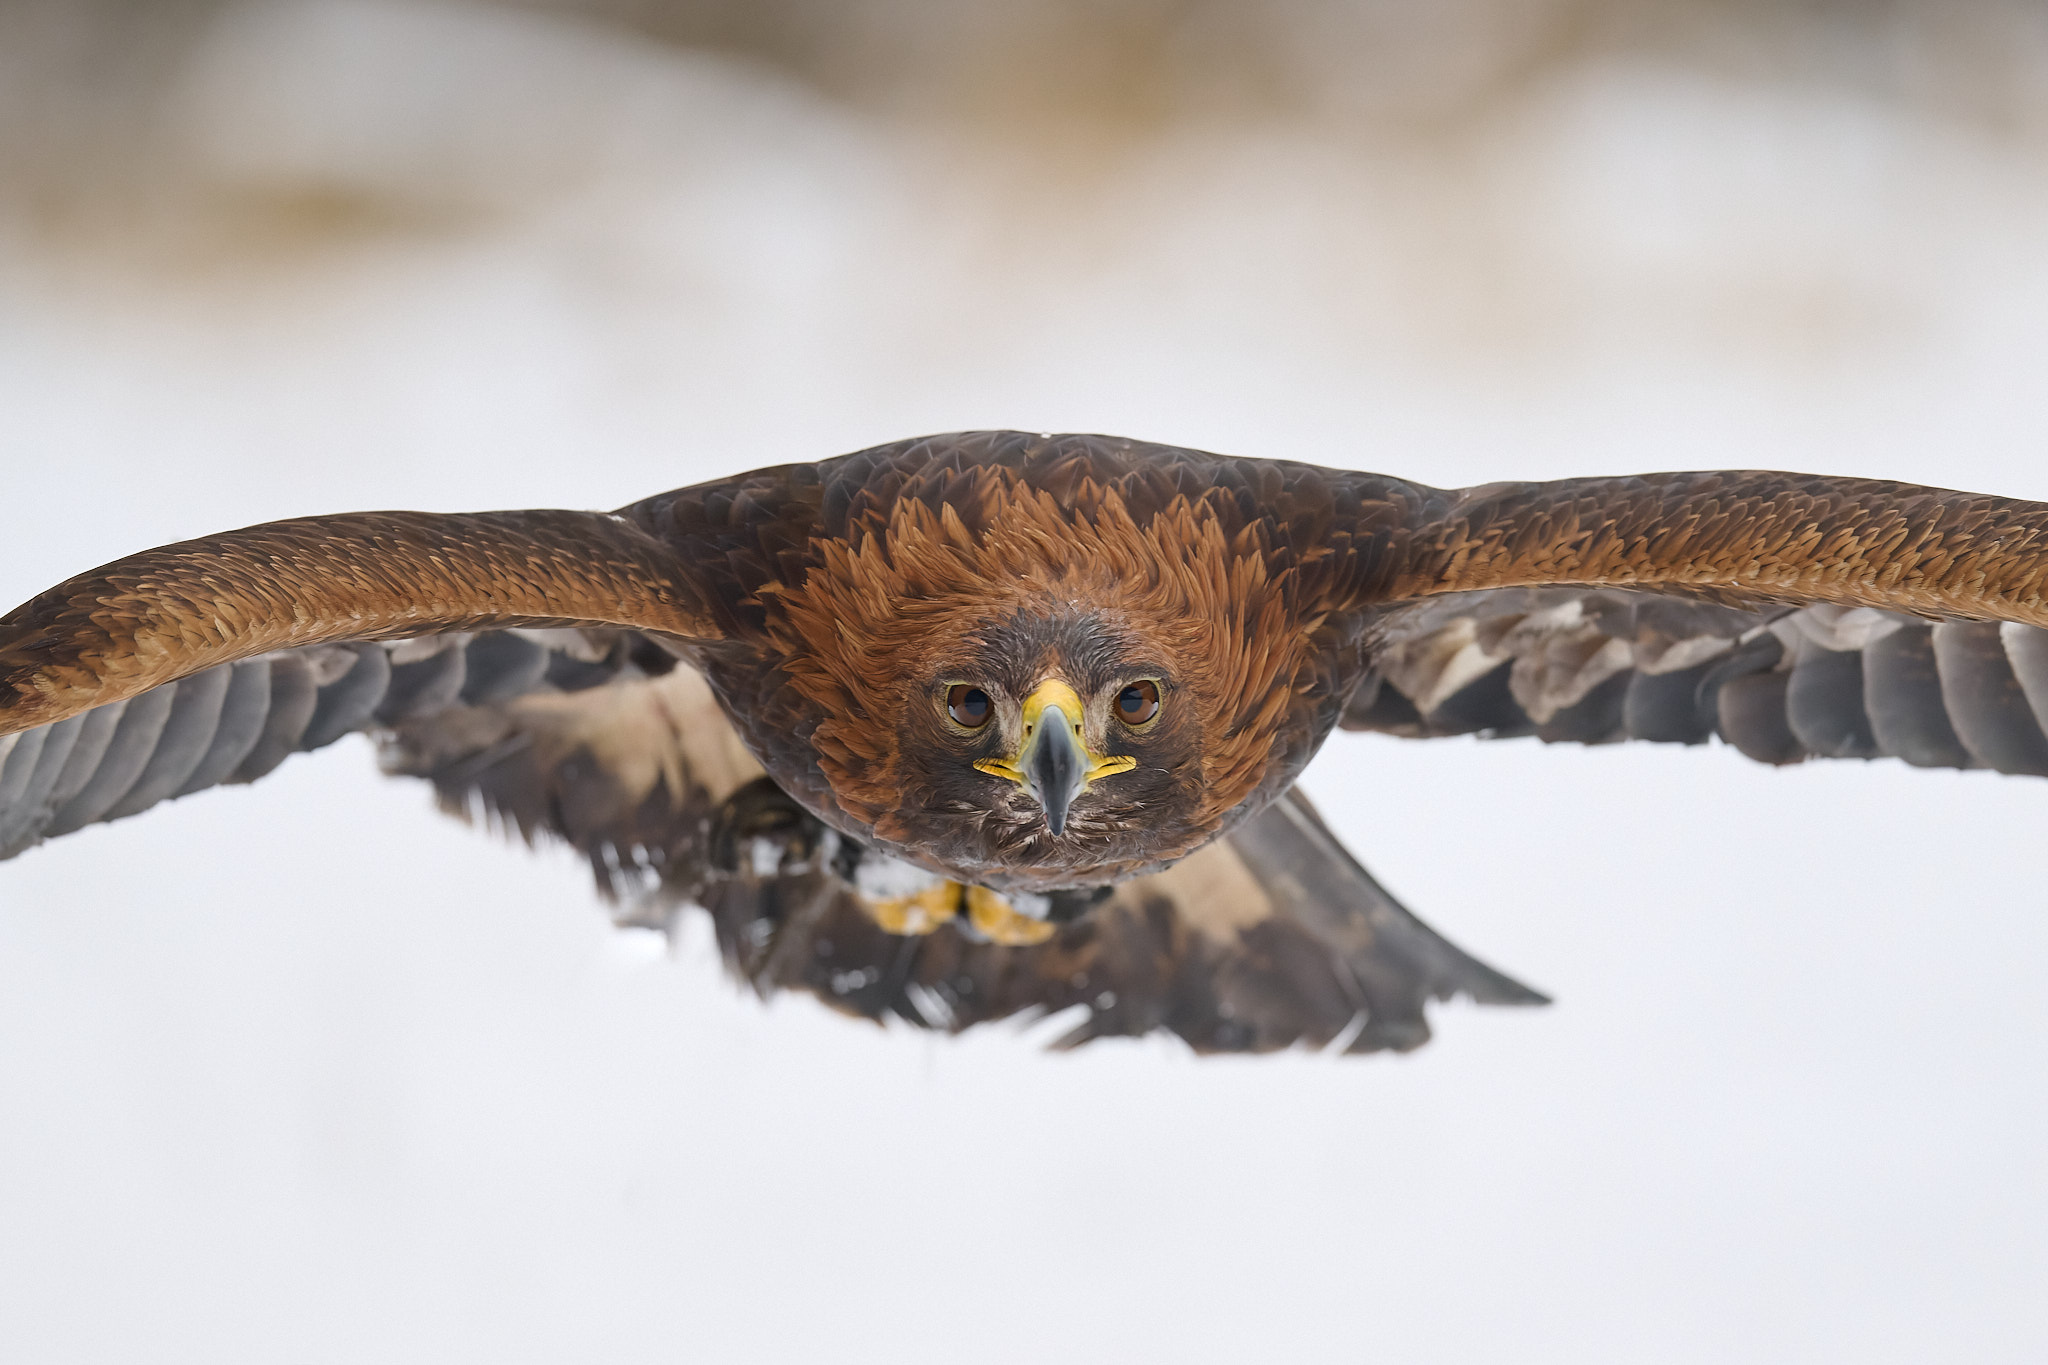
Do you know what the Nikon D5, D6, Z8 and Z9 have in common? Yes, you’re right, these are the most advanced models from Nikon since 2016, placing speed above all else. And, I’m not talking about the speed of the autofocus or the continuous shooting, but the speed at which you can change the camera’s settings when the shooting conditions change. You can do this with the inconspicuous Recall Shooting Function, which has huge potential for unpredictable photography scenarios.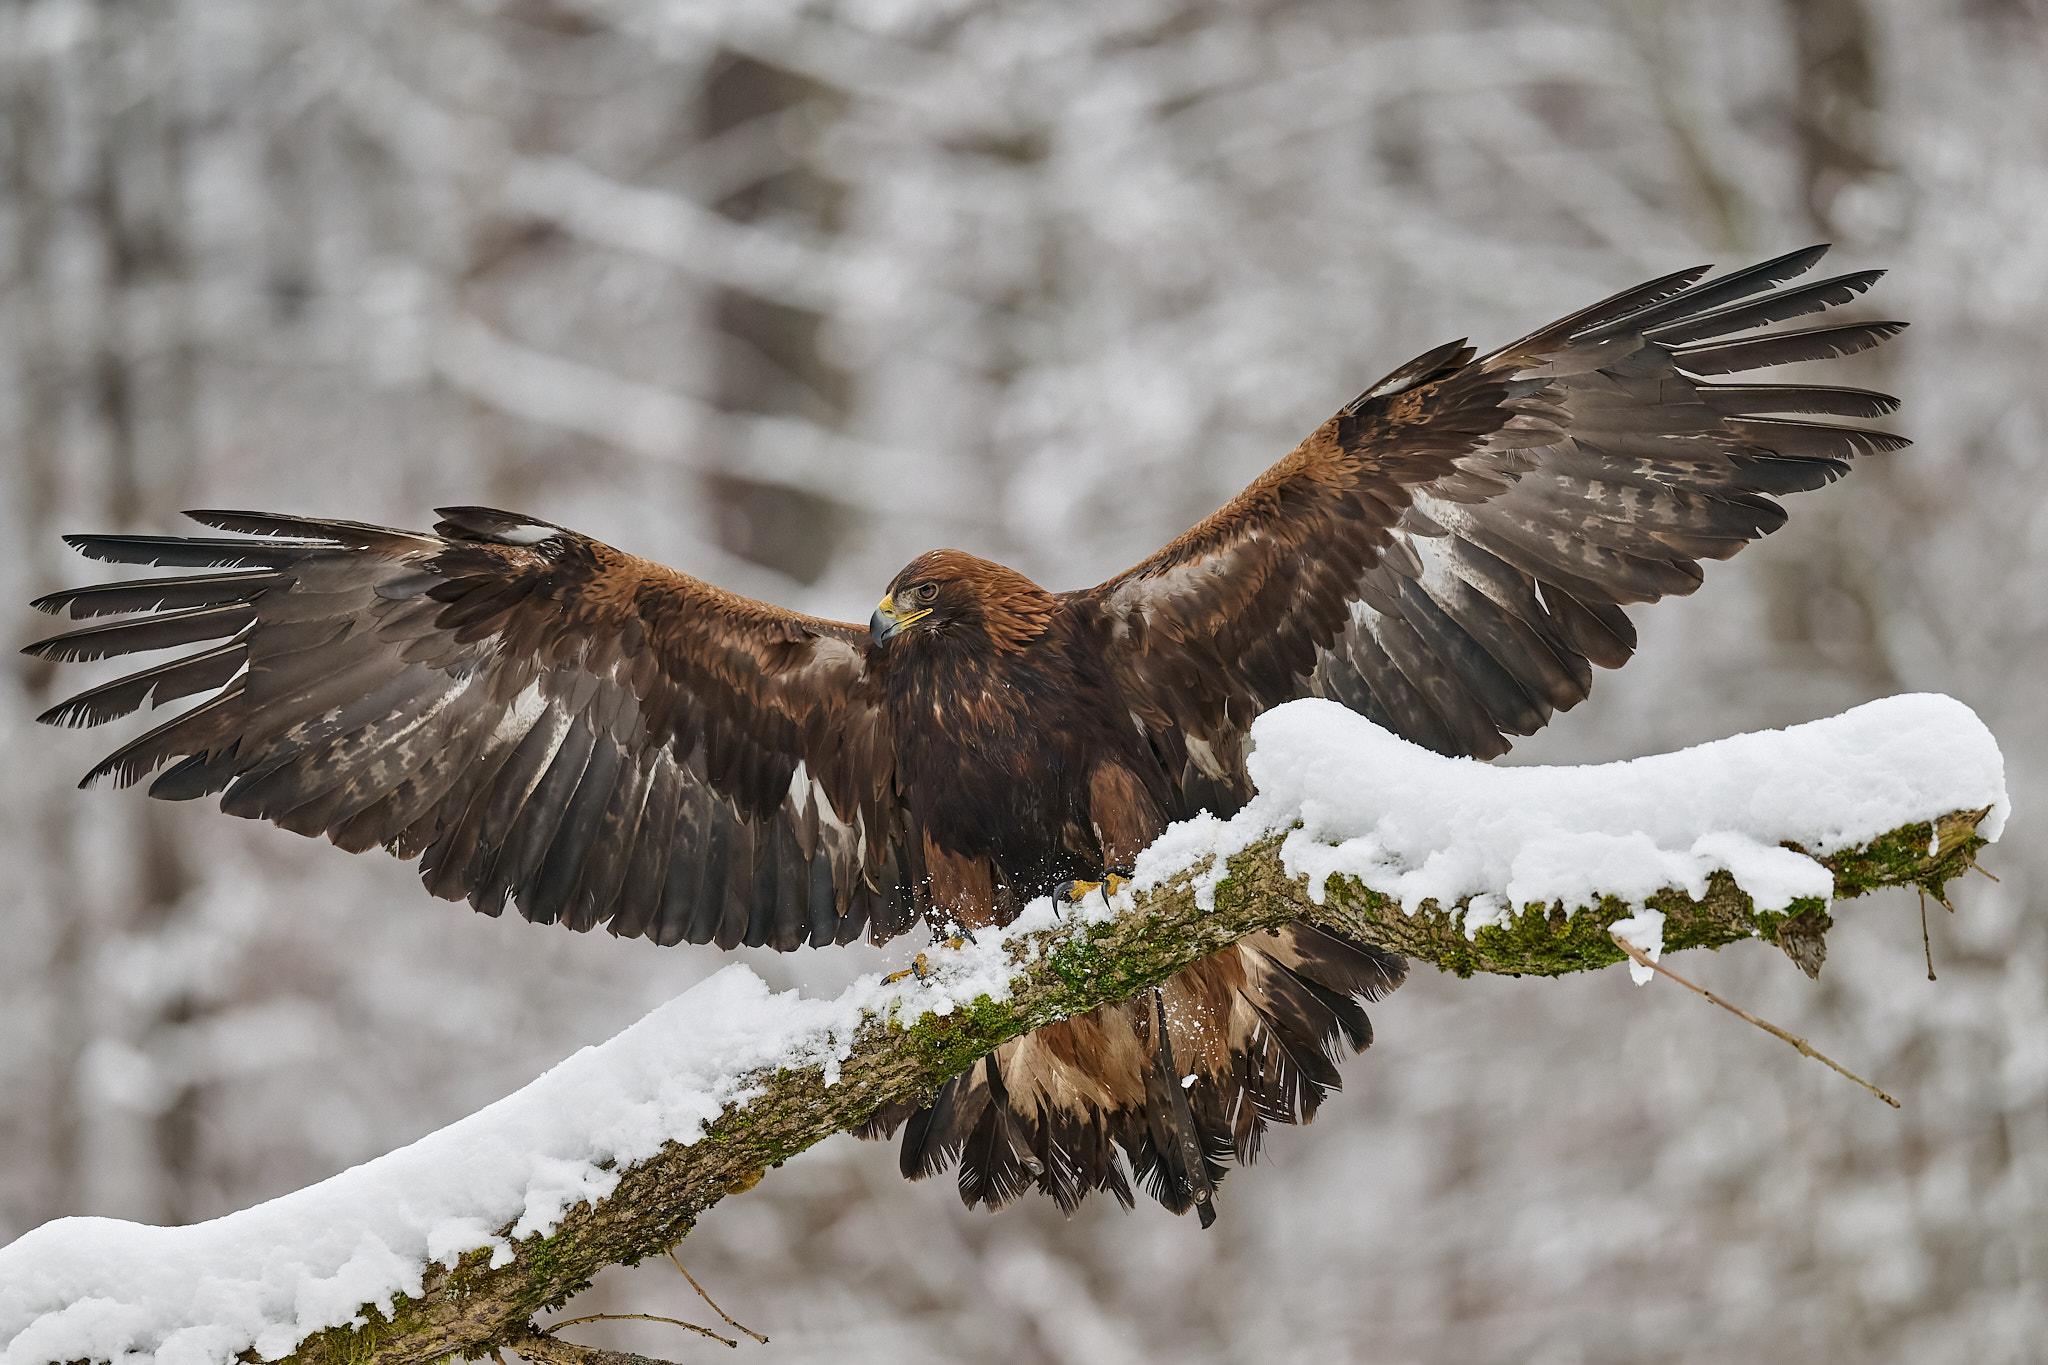 Golden Eagle (Aquila chrysaetos). NIKON Z 9 + AF-S NIKKOR 500mm f/5.6E PF ED VR @ 500mm, ISO 2500, 1/2000, f/5.6
What is Recall Shooting Good For?
In short, Recall Shooting is for those situations where you need to change your camera settings very quickly. I don’t just mean small adjustments to aperture or shutter speed, but complex and extensive changes that would otherwise take so much time that it might mean missing a shot.
With recall shooting, you can use a single press of a programmable button to change shooting mode, metering, the entire exposure triangle, exposure compensation, white balance, complete AF settings, and shutter release mode all at once!
The possibilities for this feature are endless. For example, in wildlife photography, typically there are long static moments followed by very dynamic ones. The transition between these states often takes no more than the blink of an eye—and recall shooting can change your camera settings just as quickly.
For example, imagine a raptor sitting on its perch, watching for its prey. Such birds can stay like this for a very long time, which is a great opportunity to take environmental portraits. Since they often sit on a branch like statues, there is no need to use fast shutter speeds. Instead, I often use speeds of around 1/60s in combination with the self-timer. I usually set the camera to take a sequence of three shots at 0.5 second intervals. This gives me more light and therefore more dynamic range, better sharpness and colors, and less noise.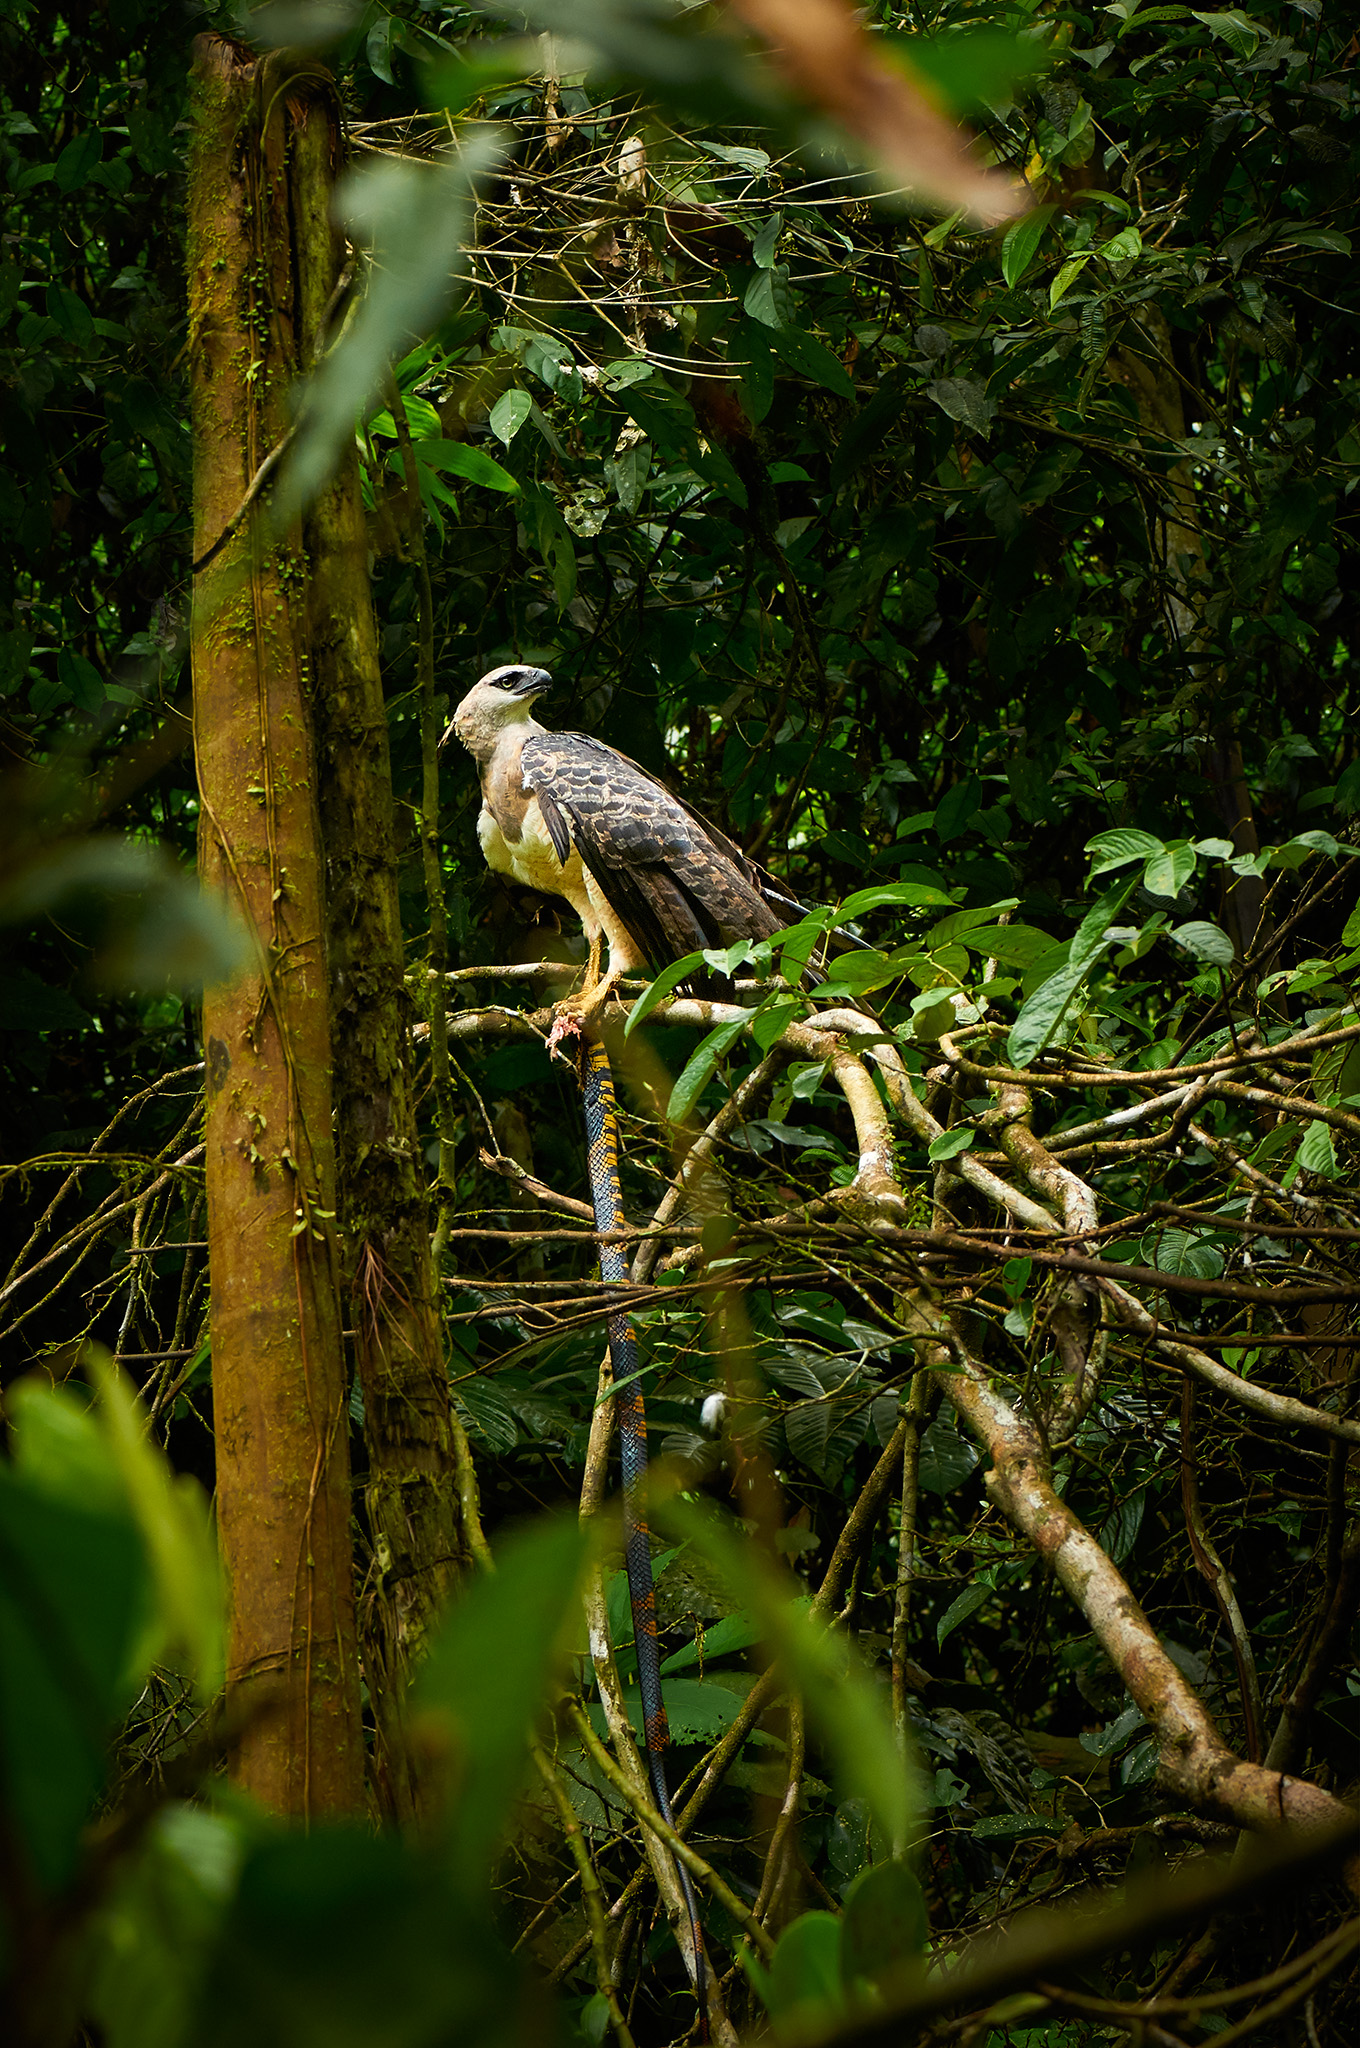 Crested Eagle (Morphnus guianensis). NIKON D300 + Nikon AF-S VR Micro-Nikkor 105mm f/2.8G IF-ED @ 105mm, ISO 1000, 1/200, f/7.1
I also sometimes set the AF area mode to cover a smaller portion of the viewfinder. Especially in dense vegetation, this makes it easier for the camera to find the subject’s eye.
However, everything changes radically when the previously static raptor decides to act. Then, you have to change pretty much everything on the camera in a second. To freeze the motion, you need a shutter speed of at least 1/1000s, preferably faster. Even a “portrait” aperture of f/4 will not be ideal. For birds in flight, it will be better to stop down a bit. Of course, you will also have to react to all this by changing the ISO.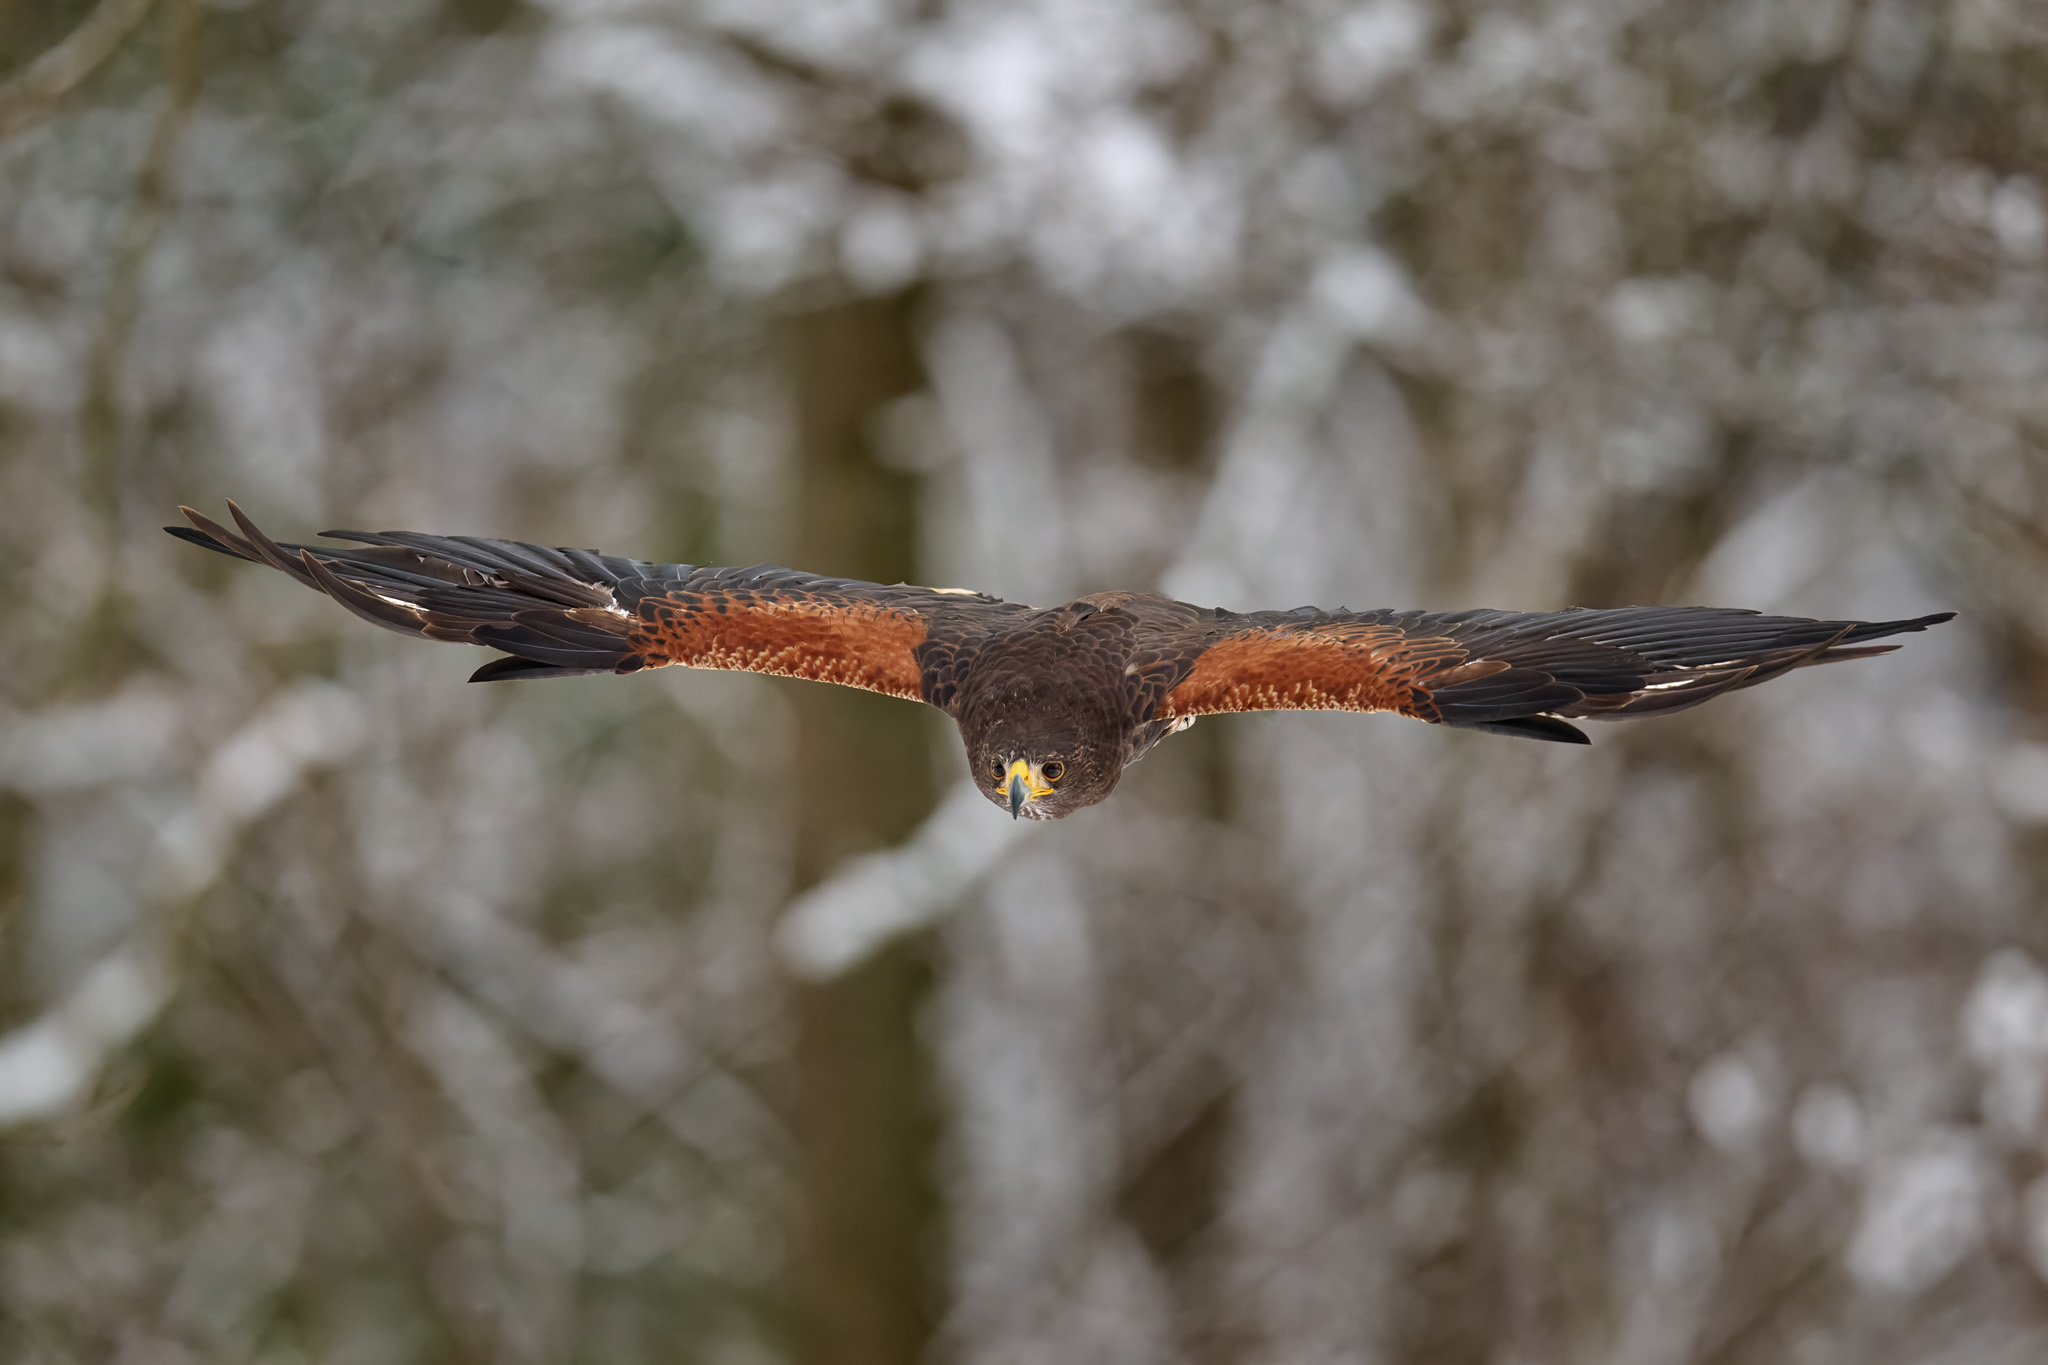 Harris’s Hawk (Parabuteo unicinctus). NIKON Z 9 + AF-S NIKKOR 500mm f/5.6E PF ED VR @ 500mm, ISO 3200, 1/2000, f/6.3
You will probably also need to change the AF area to 3D-tracking or a custom, larger area. Oh, I almost forgot, using the self-timer to shoot birds in flight is not the best idea either! I’ve verified this a few times (most painfully when shooting a Harpy Eagle) and believe me, something like continuous shooting at 15fps or 20fps is much better.
Manually changing all that in a split second is a challenge bordering on the impossible. There are basically two solutions. The first is the Shooting Menu Bank and the second is the Recall Shooting Function.
The Shooting Menu Bank is not a bad option, but it has two problems. First, you have to do two things: press the function button and then turn the command dial. More importantly, if you had the self-timer set in Bank A (bird on branch), you will also have it set in Bank B (bird in flight). Beep, beep, beep… the Harpy Eagle disappears into the canopy… click, click, click. It still hurts. Recall Shooting changes everything at once, with a single press of a button. So, how can you activate it?
How to set up Recall Shooting?
Before we get into that, it’s important to note that Recall Shooting is only used to quickly and temporarily switch between the basic camera settings (A) and the alternate settings (B). Any changes you subsequently make in B will be forgotten when you return to A. This makes Recall Shooting fundamentally different from Shooting Menu Banks, which always remember the last setting.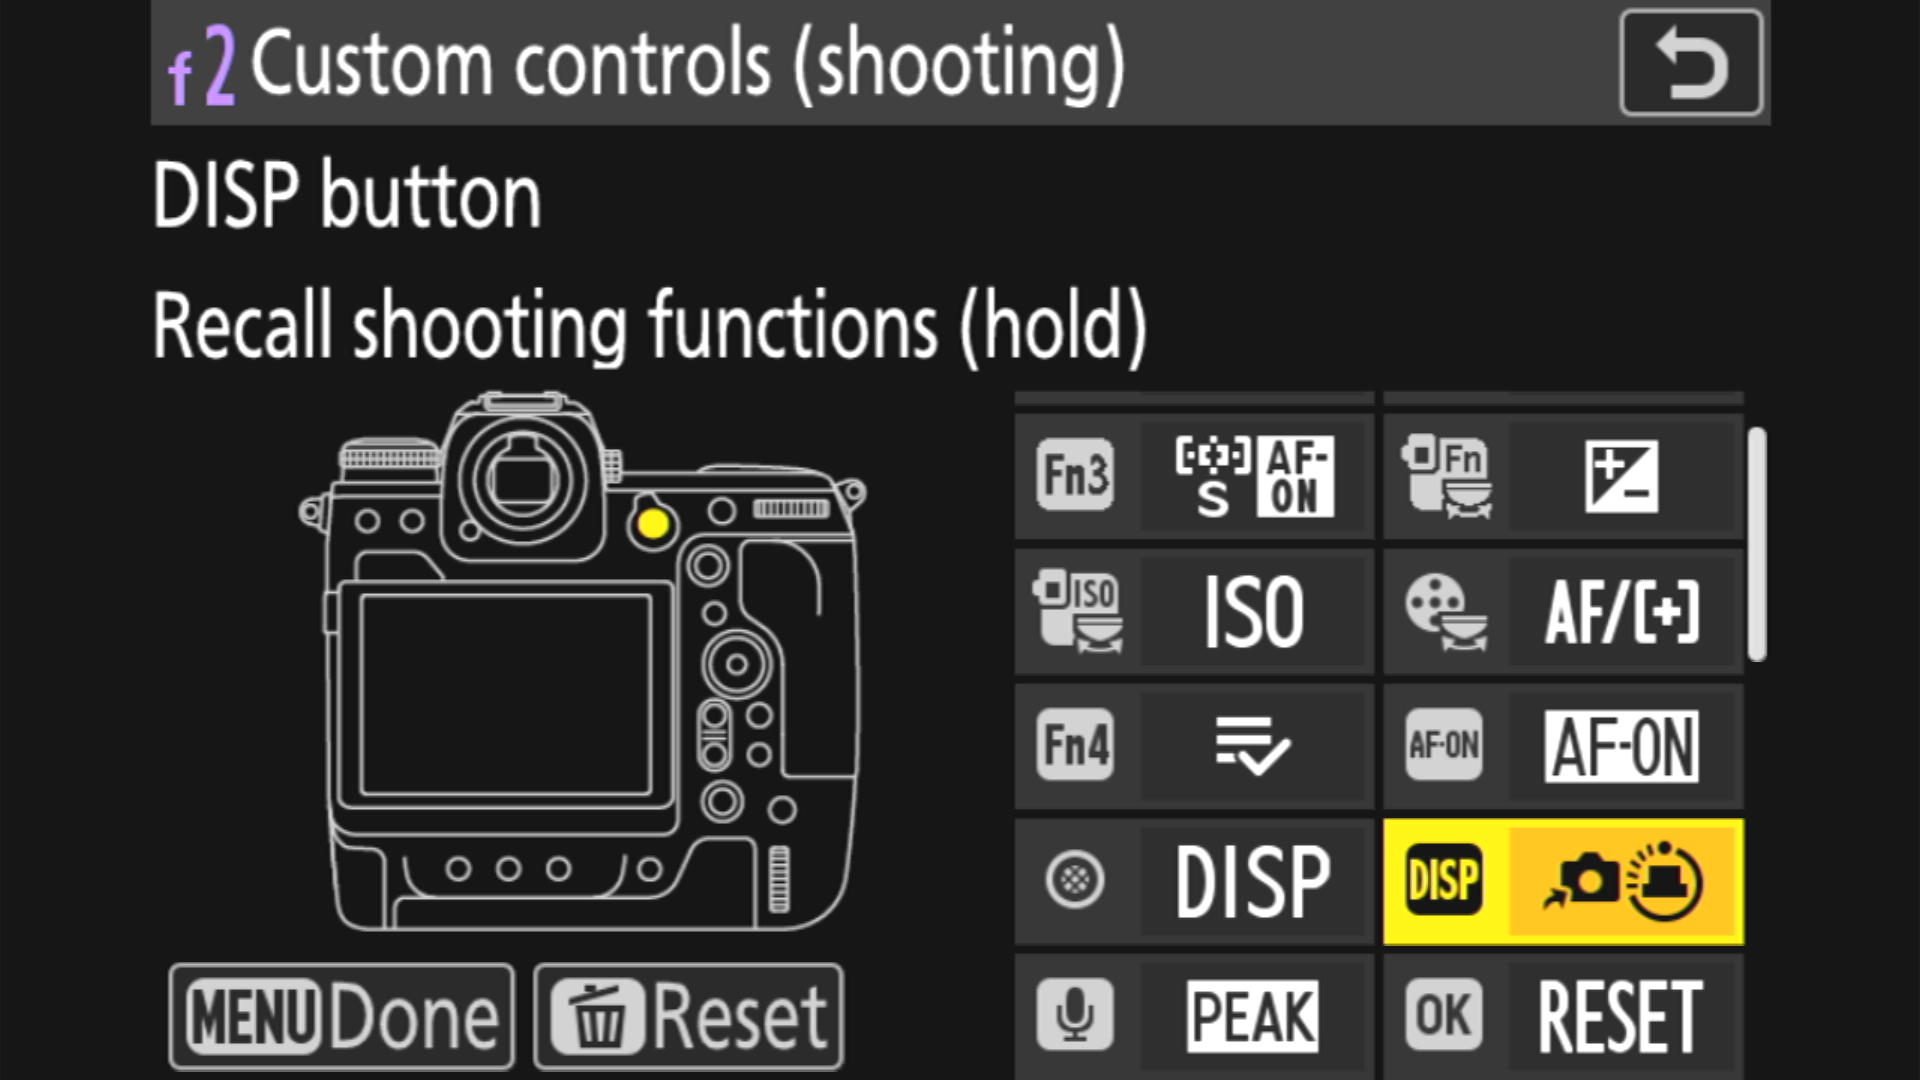 The DISP button is the perfect choice for activating functions where speed and ergonomics are critical. For this reason, I used to have one of the AF modes on this button, but now I have assigned it to Recall Shooting (hold).
For Recall Shooting, you must assign it to a button that is easily and quickly accessible, even with your eye on the viewfinder. Buttons such as the DISP, sub-selector, video-record button, or any of the Fn buttons on the front of the camera are perfect for this purpose.
On the Z8 or Z9, go to f2: Custom Controls (Shooting) in Custom Controls (Shooting). On the D5 and D6, you’ll find the same under f3. From the menu, select the button to which you want to assign the function. You can also choose from the buttons on the lens. No surprise with Z-mount lenses. But interestingly, the function can also be assigned to the four buttons on the front of the F-mount exotics (under the L-Fn button). As I found out experimentally, you have to select “AF-L” on the switch on the side of the lens. This is great because you don’t lose the otherwise very useful Memory Recall function.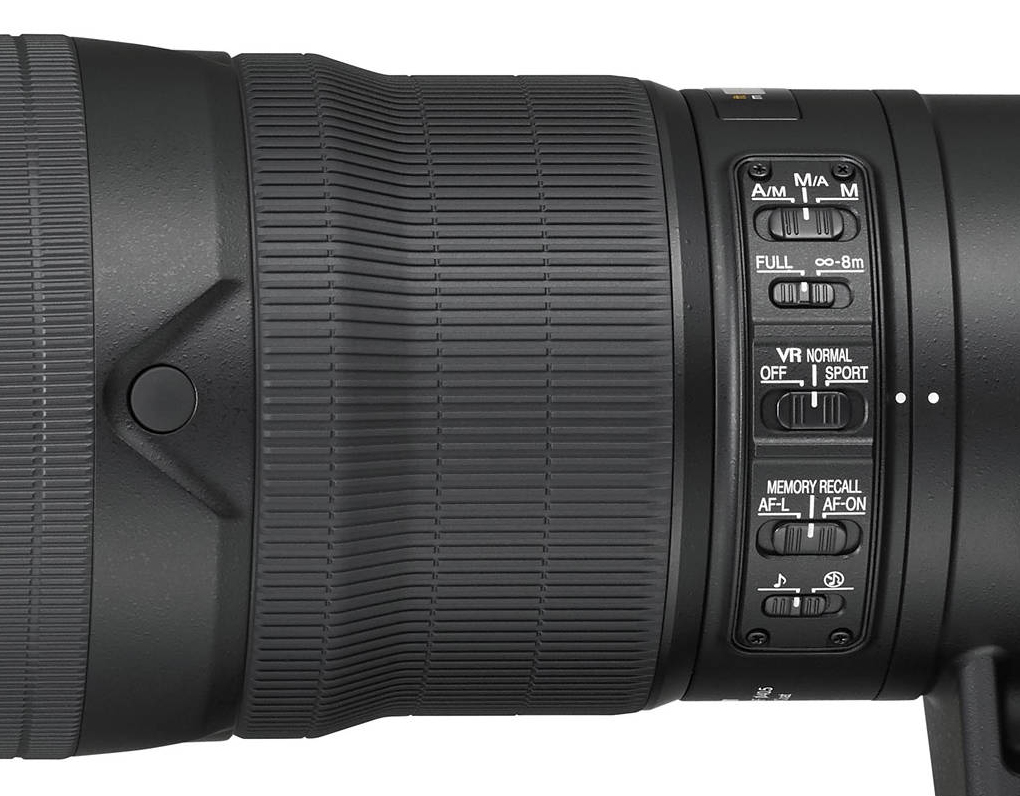 Although most settings on F-mount lenses are made with switches on the lens, the L-Fn button can be used for other functions, such as Recall Shooting. For everything to work properly, the switch must be in the AF-L position.
There are two types of Recall Shooting Functions you can select:
- Recall Shooting Functions: This first option works by maintaining the camera’s alternate settings only as long as the function button is pressed and held.
- Recall Shooting Functions (Hold): This second option is basically a classic switch. When the button is pressed, the camera switches to the alternate mode (B), where it remains until the button is pressed a second time. The camera will also return to the default mode (A) when the standby timer expires or when the camera is turned off and on again.
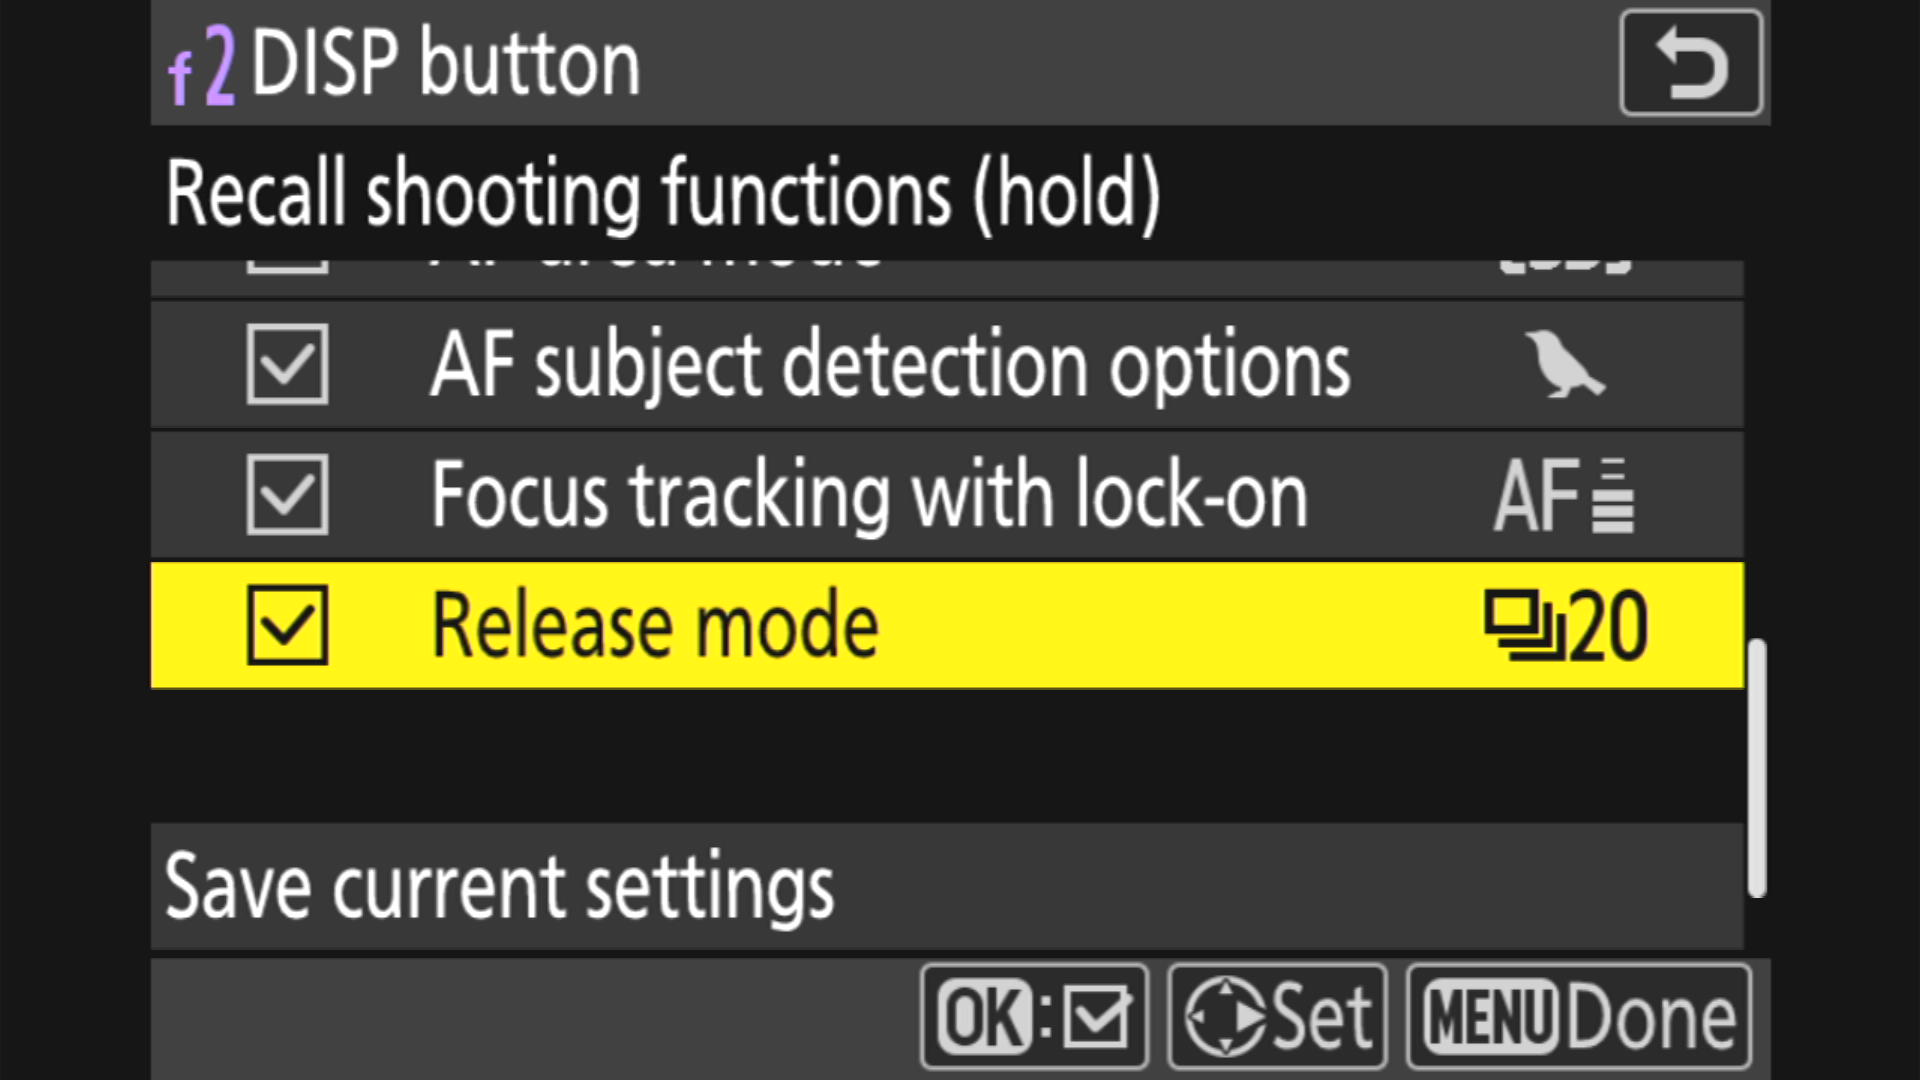 Even if you have set the self-timer on the camera, when you switch to the alternative mode (B), the release mode you have preset (e.g., 20fps) will be active. Since the camera returns to the original setting after the timer expires or the camera turns off, there is no conflict between the hard setting and the temporary setting.
When you open Recall Shooting Functions, a menu appears of parameters that can be stored in the alternative settings. Check the boxes for the settings you want to set differently in mode B. For each of these parameters, a value must be set and saved at the end. Another option is to set the camera in the usual way, as it should be in alternative mode B, and save these settings with the “Save current settings” command. Press the Menu button to save your settings. You are now ready to go into the field with another virtual camera.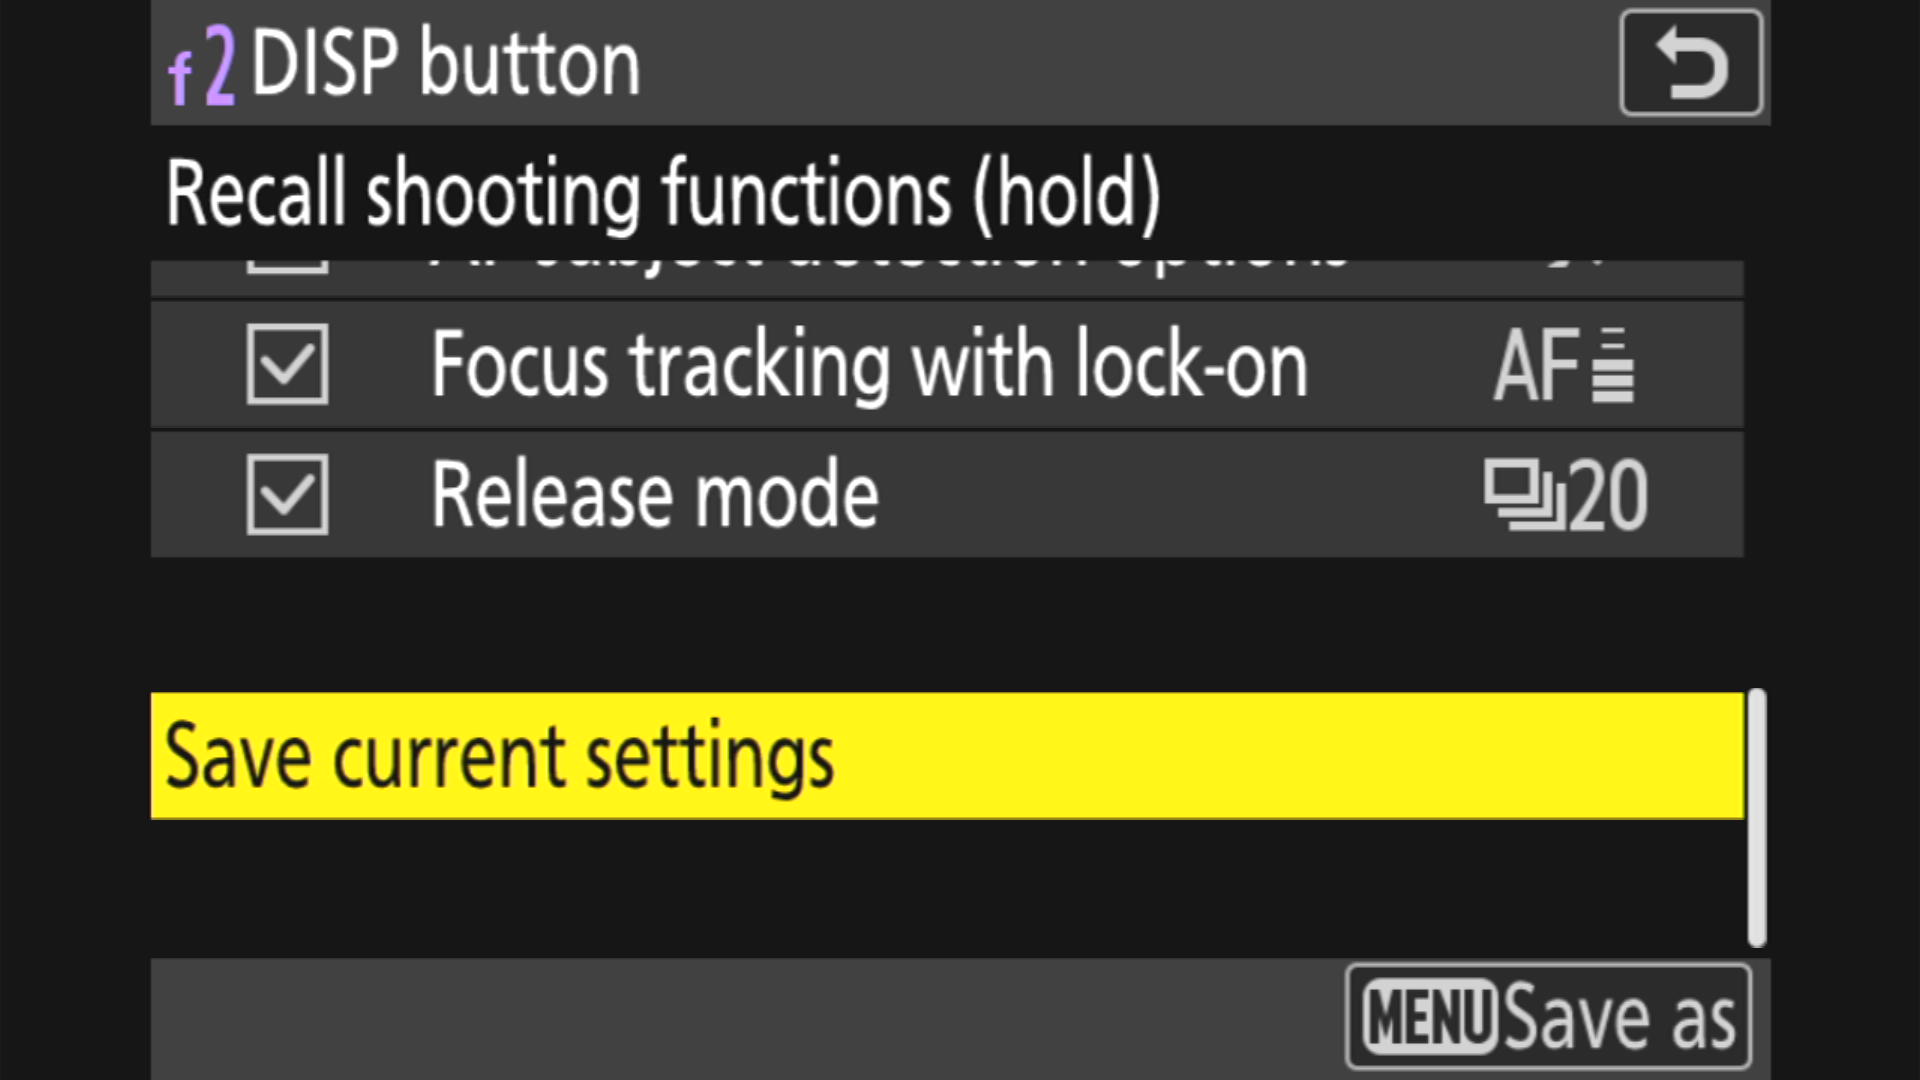 Save current settings saves the camera settings you currently have. It’s a good and quick solution if you’re not a fan of entering values through the camera menu.
A few tips:
- The cameras mentioned above allow you to configure up to four Custom Settings Banks. So if you feel that having only two options (the basic setting A and the alternate setting B) is not enough, you can configure a unique alternate setting in each of the banks. However, I recommend keeping it simple so you don’t get lost in the combinations of settings.
- Put f2: Custom Controls (Shooting) near the top in My Menu. If you want to change the parameters of an alternate setting, it will be immediately accessible.
- Recall Shooting Functions do not have to be used with every setting. For example, do you only need to quickly switch between AF detection of birds and people? Leave only the AF Subject Detection options checked.
- If you use the back button technique to focus, it’s better to select Recall Shooting Functions (hold). That way, you don’t have to hold down three buttons at the same time.
- Don’t have a D5, D6, Z8 or Z9 and still want to quickly switch between camera settings? No problem, the User Settings or Shooting Menu Banks work very similarly. Switching between settings isn’t as fast, but it’s usually perfectly fine.
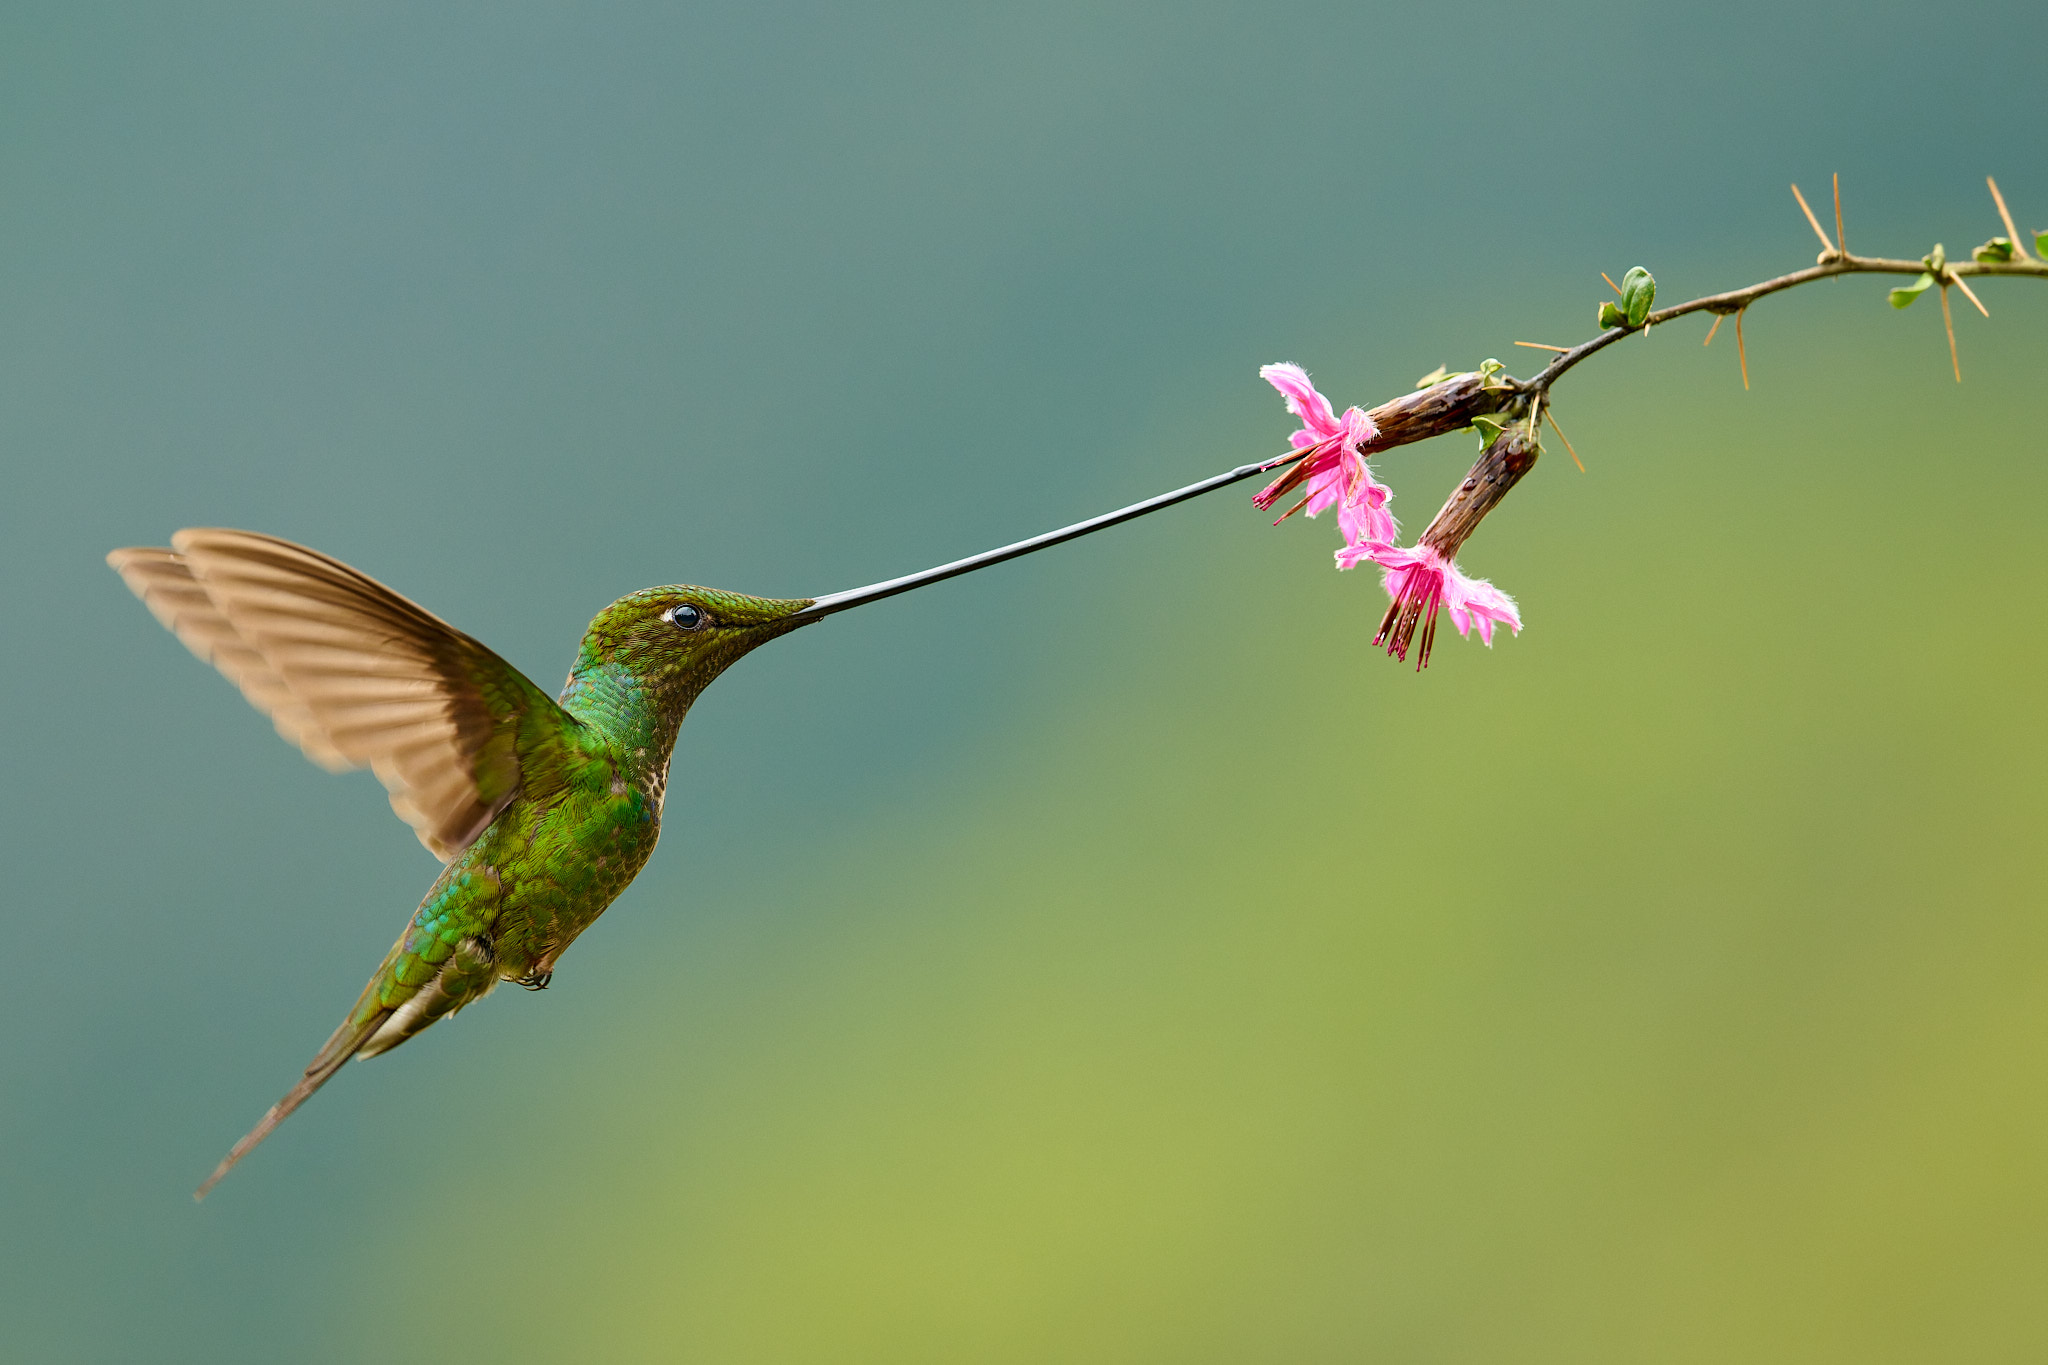 Sword-billed Hummingbird (Ensifera ensifera). NIKON Z 9 + VR 500mm f/4E @ 500mm, ISO 2800, 1/640, f/5.6
Conclusion
Classic photojournalists used to carry two cameras on their shoulders. Most of the time, they had a different lens on each one, and they immediately grabbed the camera they needed. The Recall Shooting function is a bit like a second camera. You can’t change the lens at the push of a button, but you can change just about anything else with Recall Shooting. This feature has made its way discreetly into the D5 without attracting too much attention. It also escaped my attention on the Z9 for a couple of years. Not anymore.
What's Your Reaction?
 Like
0
Like
0
 Dislike
0
Dislike
0
 Love
0
Love
0
 Funny
0
Funny
0
 Angry
0
Angry
0
 Sad
0
Sad
0
 Wow
0
Wow
0